Piping can really change a piece from nice to outstanding. Whether it is the trim on a quilt, a handbag, or even a pillow.
Here's a quick demo that shows how easy this technique really is...
Find a cord that will give you the size of piping you're looking for. If it's for a pillow, you might want to consider 3/8" in diameter. This can be found in the home dec department of your local big box store. In the handbag below I used cord that's 1/16" in diameter for the black & white piping.
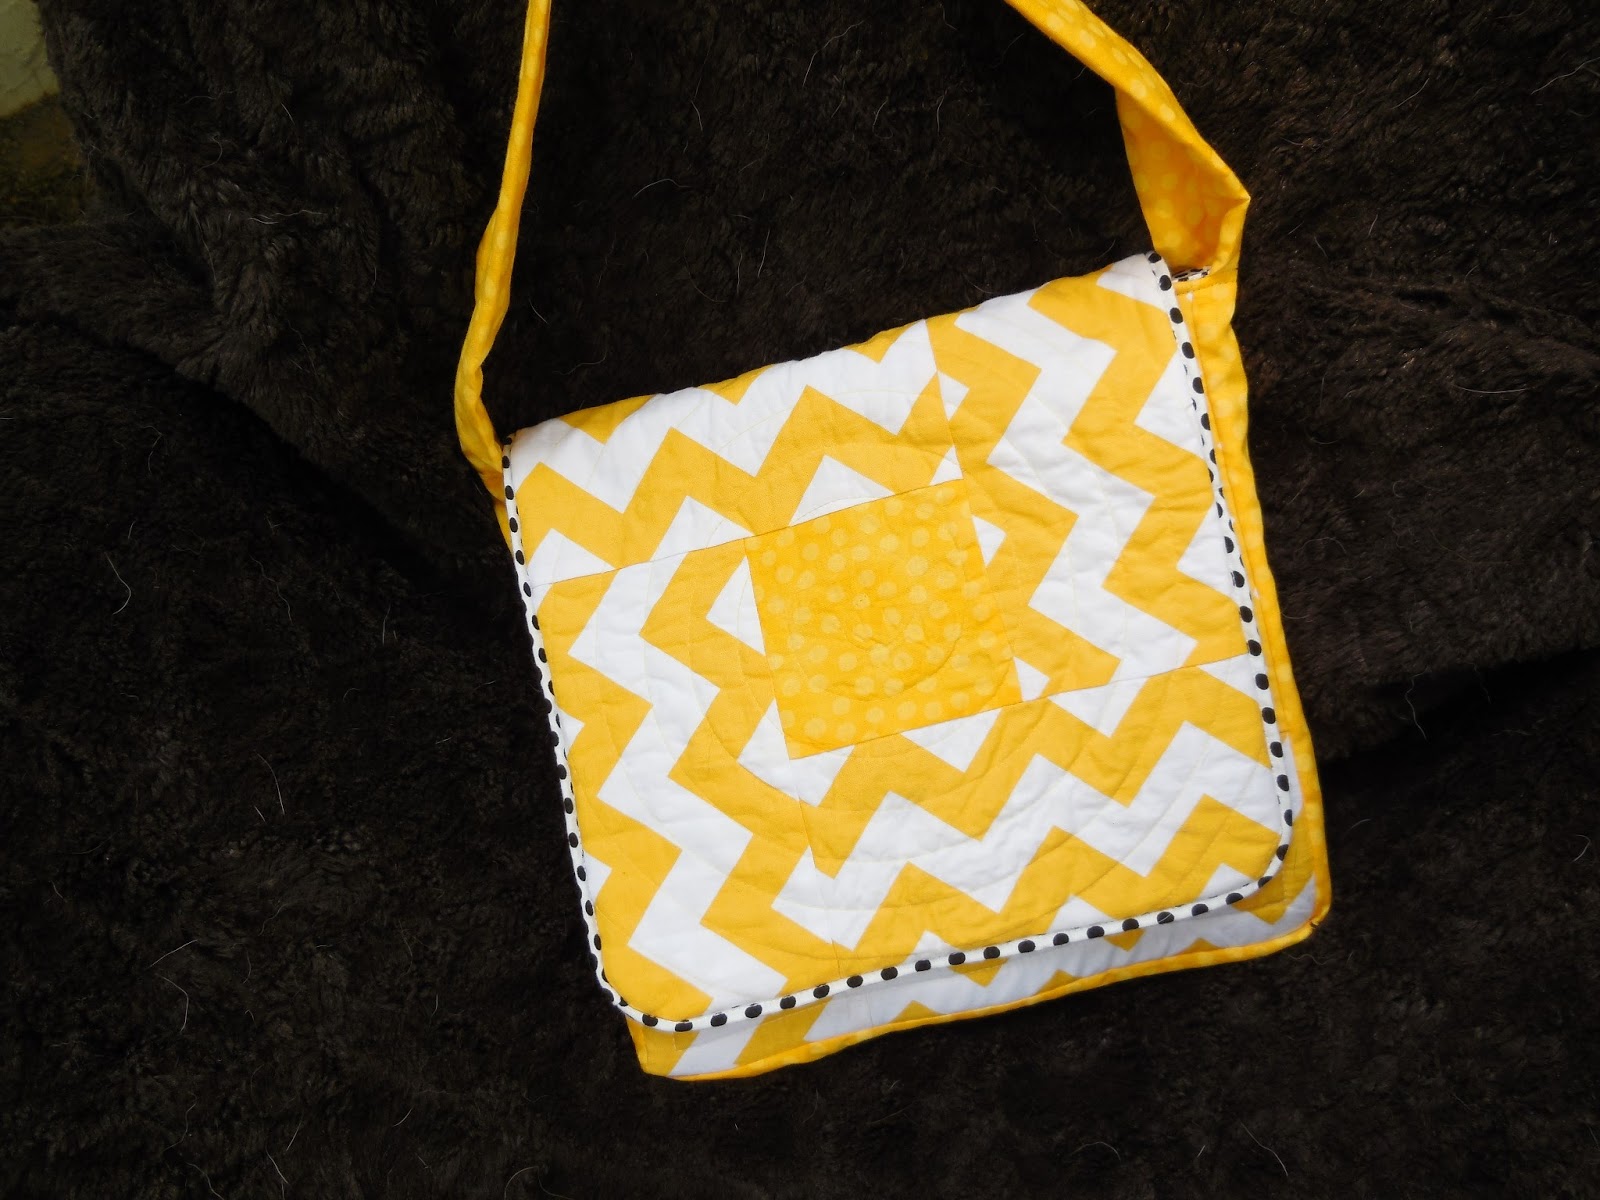
The length of your fabric strip and cord will depend on the length of the area where the piping will be placed. For binding for this handbag, I cut strips 2 1/2" wide and 30" long. Press the fabric in half down the length of the fabric. Insert the cord inside the strip as close to the pressed fold as possible.
Using your zipper foot, stitch as close to the cord as you can.

Trim the seam to 1/4". If you have Susan Cleveland's Groovin' Piping Trimming Tool, here's a chance to use it. If you don't, trim the seam using a ruler and rotary cutter.

Now if there's a tricky part, this is it...sandwich the piping between the pieces of fabric right sides together as well as with raw edges together. So when you stitch the 1/4 in seam, the piping is toward the center of the work, in my case, the flap on the bag.

Turn the work right side out and Voila! Gorgeous piping!

No comments:
Post a Comment