Thursday, December 26, 2013

It's Fun to be an Elf

In the fall I received a call from my best friend's mom; she asked if I'd come over because she had something to ask me. Well, of course I went. Not only because I've known her since I was 18, but I was curious to know what the big secret was.

Mrs. M said she'd seen a pillow made from neckties once and had thought it was really beautiful. She asked if I'd make two pillows for her to give her daughters for Christmas. She leaves the room and returns with two hangers filled with the late Mr. M's ties. My eyes filled with tears to think that she would ask me to use something that was evidently so dear to her. "Absolutely" I said, I'd be happy to make the pillows. She had one overriding rule "Don't tell Sally Ann. I want her to be surprised."  Gulp.


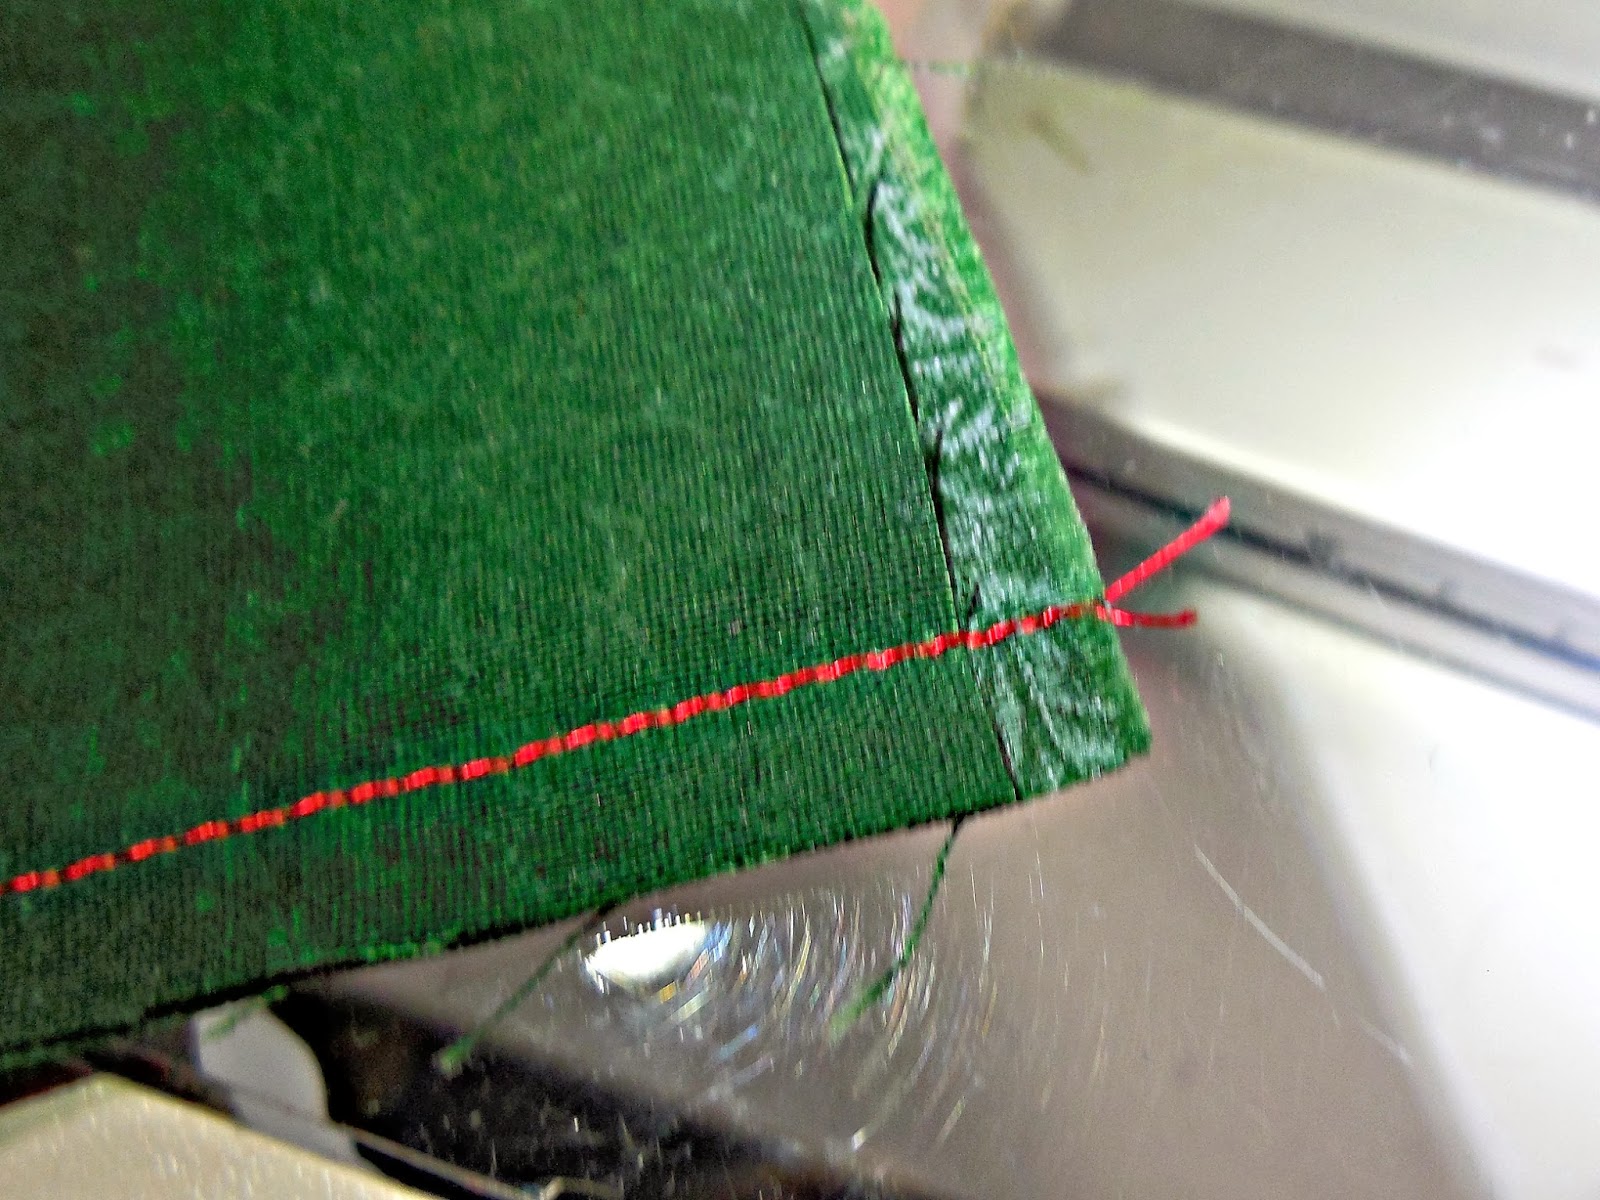
I had done necktie pillows before and knew what not to do; don't attach them to a stabilizer and then cut strips because they will fray something fierce.  You can see in this photo that I tried to use some fancy stitches from my machine to hide the fact that the edges weren't finished.

 
I decided to do a paper pieced design. I wrote a post about this in October as you can see It Pays to Plan Ahead .  Basically, here's the Cliff's Notes version of what I did:

1. Deconstructed the neckties. Then I just  had the silk etc. and not the double thickness and lining that is sewn into a tie. In this case, the bow tie was Mr. M's signature look, so there were  a lot of little pieces.

2. Because I did have so many little pieces, I knew that I needed a small repeatable pattern. I came up with a repeatable block that could accommodate small pieces of fabric. Everything fell into two primary colorways: brown and navy.

After I had a couple sample blocks done  I emailed Mrs. M to keep her in the loop and ask for her opinion. She liked my samples so I marched forward with the rest of the blocks.


At this point I knew I needed sashing, so I took the blocks to show my Magpie Quilter friends. The gave me some great suggestions which included a little block at the intersection of each row/column.

I bought tweed-looking flannel for the back. But much to my horror, the print on the one flannel was crooked! What should I do; cut it crooked so the print appears straight or cut in on the grain of the fabric? I did what any other person with a support group would do; I asked my Magpie friends. The feedback I received was valuable; cut it on the straight of the grain because flannel can stretch and then I'd have a real mess on my hands. So that's what I did; I cut the flannel, used it for the cornerstones because that really tied the front to the color scheme on the back. 

Since the pillows are a non-standard size, I made my own pillow forms with muslin and some polyfill. I stuffed the corners with some loose polyfill to fill them out a bit more.

Then the day came to deliver them to Mrs. M. And I'm happy to say that she was as happy with them as I was. It was fun being her elf this Christmas and designing something I know her daughters will treasure.

And what was the hardest part you ask?...not slipping and telling Sally what her mom had asked me to design for her, of course!

Wednesday, December 18, 2013

Tis the Season for Machine Embroidery

"They" say that embroidery of all kinds is very hot in quilting right now. I enjoy hand embroidery and actually I'm working on a Magpie Quilters challenge right now that includes embroidery. I love working with all of the fabulously colored threads.

When I got my Bernina the embroidery machine came with it as a bonus. I didn't think I'd use it much, but what the heck I thought; give it a try. And I must say it's been fun. In this post I thought I'd share how it works.

First I hook up my embroidery machine to my Bernina and laptop. It looks something like this: Wait, wait, wait...that's not quite true. FIRST the fabric needs a good stabilizer. I use 505 with a tear away stabilizer. Also it's recommended (trust me here) to slow down the stitch speed; especially with metallic thread. And lastly, use a full bobbin. Running out of bobbin thread in the middle of a design isn't the end of the world, but it isn't really fun either. Okay, so now back to what I was saying...I hook up my embroidery machine to my Bernina and laptop. It looks something exactly like this:


Then I search through my designs for something interesting. In this case I bought an awesome CD set of Christmas motifs that include festive holiday shoes; something that every woman needs, am I right? 

In this photo you can see how it stitches out. There is a lot of stitching that goes on as a base for all of the pretty stitches you see later. It helps keep everything secure. All of the better designs should start with this type of stitch. You can see it sketched out here.
 

Once I'm happy with the design, I send it from my laptop to the embroidery machine.  Here I can manipulate where the design will be located. In this case I wanted it at the bottom of my fabric so you see it at the bottom of the hoop.

Once everything is ready to stitch, I'll see a display like the one below. The display tells  how many stitches the machine will make for the design and how long each color will take to stitch. Please note: while the program tells me how long it takes to stitch, it does not count how long it takes me to find the right thread and thread the machine.

The arrow shows what colors of thread the manufacturer of the design recommends. Once the program has completed all of the stitches of a particular color, the machine will stop which is my queue to select the next color and thread the machine.


Here's the stitched out design. Since the machine stitches one color at a time, there will be a lot of connecting threads that will need snipped. Little scissors with a curved blade are ideal for this.


Then you can integrate the design into something fabulous like these little make up bags I gave my friends at work. But I filled mine with chocolates so they loved the insides as much as the outside!


If you have the chance to get an embroidery machine, I'd recommend it. They are a lot of fun and there are more and more websites where you can download patterns to stitch out for a pretty reasonable price. Enjoy stitching!

Sunday, December 15, 2013

Selvage Square

Marcey Arter from Whimsey Square Quilts was the guest speaker at the Columbus Modern Quilt Guild meeting last month. She shared her technique for working with those selvages I've been keeping (and not knowing what to do with them). 

For this post, I've used the supplies she generously gave each of us; strips of selvage and a square of fusible interfacing. The most narrow strip is 1 1/2" wide, so keep that in mind as you save those selvages!


Here's Marcey's technique:

First and foremost, be sure you keep the interfacing with the shiny fusible side up.
The only stitching you need to do is to sew two of the strips together across the middle of the interfacing. In this case, it was sewn corner to corner, but certainly doesn't have to be.

Then finger press the seam open. FINGER PRESS is key because you don't want to use an iron and adhere the fabric yet!


Now just tuck the remaining strips under the previous one in an order that is pleasing to you. In this case, I alternated colored strips with black & white prints for some contrast. I also like to see the actual selvage information, so in most cases, I left that side exposed.


 Once you like the arrangement, you can press with the iron. Trim it up and voila! 

Be sure that you stitch it down now; whether it's a straight stitch or some quilting, you'll need something to keep the strips in place.

I've always wanted to learn how to do this so I was really thrilled that Marcey shared her technique. Hope you like it too!

Sunday, December 1, 2013

Goldilocks Thread

There are times when we are so involved with what we're sewing that don't realize the bobbin thread has run out; right? Don't you just hate it when that happens? You don't want the bobbin thread to be too short or too long; it needs to be juuuuust right!

Here's a tip from my friend Angela at Blue Tree Studio: fill two bobbins with thread. Use one in the conventional way and use the other in place of a spool of thread.


That way you will be able to keep an eye on how quickly the thread is being used. When it's about out at the top of your machine, you can be pretty sure that the bobbin is out too. Pretty cool idea to an ongoing problem, don't you think? Hope you like this idea. Any tip that makes it easier to complete a project is a tip worth sharing!

Sunday, November 24, 2013

Handy Thread Spool Know How

Does this happen to you...you are done with a spool of thread, quickly wrap the end of the spool and by the time you put it away, it's begun to unwind.  Then you have all of those long threads dangling down. It looks messy and it's easily tangled.

Did you know that a lot of threads come with ends that can be used to hold those loose ends? Madeira and the fabulous Libby Lehman's Bottomline are two examples.

 With the Madeira, the end lifts up with room to insert the thread:


In the case of the Bottomline, one of the ends will actually come off:


Neat and tidy with no loose ends. Now when you throw those spools into your bag to take to class, there won't be a thread nest to deal with. Woo hoo!

Thursday, November 21, 2013

Sweet Pincushion

At Thursday night's meeting of the Magpie Quilters, Karen came prepared to share a cool technique for making a pincushion. And it can all be done by hand.

Supplies: fabric - something heavier that quilting cotton is best, thread, needle and stuffing. The stuffing that Karen brought was an incredible bag of lavender. 

Cut the fabric into a rectangle that when folded in half provides a square. In this example, the size was 6 1/2" x 3 1/2". Stitch up the sides:


Piece of cake; right? Now stuff it full of filling. I used fiberfill because I don't have a bag of lavender handy. For a nice pin cushion, you want to fill it pretty tightly.

Fold it so that the seams meet - that's the trick to the fun shape. 

 
And that's all there is to it! A fun and easy project.


Sunday, November 17, 2013

My Friend the Walking Foot

In my quest to improve the precision of my sewing, the walking foot has become a BFF. Some manufacturers make the walking foot the standard. Very wise. 

Bernina does not. I wouldn't trade my Bernina for anything, so don't get me wrong, I'm not complaining. I have a 440 QE and I'm happy to say that it comes with a walking foot. 

There is a problem I was having that the foot fixes; here is a visual (it makes me cringe to look at it): 


I would cut carefully. I would pin. I would sew slowly and still get the problem you see above. That is a good 1/4+"...enough to make a huge difference when you want your pieces to fit.

Then I tried my walking foot. Eureka! It helped:


It has to do with the speed that the feeddogs move the fabric along. The walking foot ensures that the top fabric moves at the same speed. Now I get a nice even seam. if you haven't broken out your walking foot, give it a try and I'll bet you never look back!

Thursday, November 14, 2013

Tis the Season for...Ruffles

Ruffles can be a fun addition to a project. Sure, initially when you hear the word you think of a cute addition to a girl's dress.  But they can be used in other ways as well; you can add a ruffle to a pillow, embellish a tote bag, or a Christmas wreath.

There's an easy and a hard way to make ruffles. Of course the absolute easiest way is to buy a ruffler for your sewing machine, but let's skip that option shall we? Instead, let's look at a couple different ways to make the ruffles "by hand". (I'm cheating a bit by using a machine but not a ruffler attachment.)(So it's not a big cheat...more like a little white cheat.)

First you'll want to measure the area that you're adding the ruffle to and multiply it by two. This will give you a fairly full ruffle, but feel free to up that number to 2 1/2 or more if you want. 

Now you have the length of the fabric strip that will be the ruffle, but what about the height? That totally depends on your project. In this case, I want the ruffle to be 1 1/2" high.

Option 1: If I want a stiffer ruffle that will look finished on the front and the back, I'm going to fold the fabric in  half. In this case I double the 1 1/2" height and add 1/2" for the seam. That means I should cut the strip 3 1/2" wide.


Option 2:  A single strip with a rolled hem at the top. I'll take the 1 1/" and add 1/4" for the seam and another 1/4" for a little  rolled hem. In this case, I'll cut my strip 2" wide.  Press the fabric at the top down 1/8" and then another 1/8" and stitch .


Have you ever tried to gather a long strip into a ruffle only to have the thread break? UGH! Very Discouraging. Here are two good tips: 1. Sew the thread for gathering with a very large stitch 2. Sew in short sections within the seam allowance; this way the gathering stitches won't show when you sew the project together 3. You also want those stitches to overlap so there isn't an section of fabric that is flat and won't gather properly. 4. Leave about a 3" tail on both ends of the stitching since you'll use these to pull the gathers. (Okay, so I said 2 tips and ended up with 4...I was in the ballpark.) The fabric will automatically  start to curl like this:


Take hold of those tails and even out the gathers. I usually pin the two ends to the fabric and then in the middle. That way I can try to even out the ruffles:


Final result is a nice even ruffle! Wouldn't this look great at the bottom of a hand towel? Easy Christmas present, I think!


Sunday, November 10, 2013

Mug Rug Fun

The Columbus Modern Quilt Guild had a Sew In last weekend. A day of sewing with friends; what could be more fun?  Everyone who attended got a goody bag of fabric and materials to make a mug rug. What is a mug rug you may be asking. Well, it's bigger than a coaster and smaller than a placemat! Kathy G. over at Kwilty Pleasures has a great tutorial on the 'quilt as you go' mug rug. So for today's tip I'm sending you over to Kwilty Pleasures to give it a try. You can whip one up in no time...honest!

Thursday, November 7, 2013

Book Report: thr3fold

I bought this awesome book when I was in Vancouver this summer. It's called thr3fold the journal of creative vision by Laura Kemshall, Linda Kemshall, and Catherine Nicholls. You can check out their blog, thr3foldjournal.


They are three friends who all come from artistic backgrounds. This is their third book and is really about challenging each other to try new techniques. It comes with a CD that provides additional photos and detail that isn't in the book. Each chapter addresses a different challenge and the women discuss their thought process through words as well as beautiful color photographs. 

One challenge was to use Broderie Perse which is a traditional technique where the quilter fussy cuts motifs from fabric to insert in their project. Linda's project had a fish motif, Laura's included poppies, and Catherine's was more abstract.

The photo below is from a chapter that sounded like a lot of fun. They wrote down the names of different embroidery stitches and threw them in a hat. Each woman then pulled out one of the slips of paper to find out what stitch would be the focus of her next pieceThis is a great way to learn a new technique and share what you learned with your friends.


This is a very inspiring book (as the title advertised!) and helped me think outside of the box. Why not try something different for a change. Trying new things is key to creativity. I challenge you to give it a try and see where it takes you!
 

Sunday, November 3, 2013

Book Binding

This is a great tip from my friend Kathy F....how many times do you want to sew and follow a process in a book, but it won't stay open so you find something heavy to sit on it. In this case, I was working with Patsy Thompson's Feather Adventures! book which (trust me on this) I need to follow closely.


I kept the book open in this photo with a great pair of shears my father-in-law gave me in a leather sheath. (Gorgeous, aren't they?). But turning the pages is hard and I'm struggling enough with the feathers; I don't want to fight with the book too!

Here's the tip...for less than $5, you can go to Kinko's (and maybe other printers too) and have the book rebound with a comb binding. They cut off the binding that's on the book, and then they have  a machine that will put the holes in the book so that the comb can be added. Voila! Much easier to work with.


I think this would be a good idea for some cookbooks as well. Hope you like this idea. Any tip that makes it easier to complete a project is a tip worth sharing!

Thursday, October 31, 2013

The Sensational Seam Guide


Have you seen this in with your gadgets when you bought/inherited/borrowed your sewing machine?


It's official name (at least per Bernina) is "seam guide".

There's a hole in the shaft of the presser foot that the round part of the seam guide slides into. Then tighten the screw (if you always wondered why there was a screw at the back of the presser feet; now you know!).


 Stitch a line and then determine how much space you want between the rows of stitching. Adjust the seam guide and voila! Beautiful straight stitches every time. And since you can adjust the amount of space between the presser foot and the guide, you can make the rows as narrow or wide as you wish. 


Here's a little piece to get your creative juices flowing:


Of course I had to throw in some of my decorative stitches, but don't you love it? It was really fun to do. Now I'm thinking about doing something larger...maybe a pillow? hhmmm.

Sunday, October 27, 2013

Pull Up or Pull Down?

I, like many others, was told that when removing the thread from my sewing machine, be sure to snip the thread at the spool and then pull down through the needle. The story was that the tension discs are pretty finely tuned and you don't want to throw them out of wack.


Well...for this post I tried to find information validating that process. And you know what? I couldn't find any. I did find a couple places where folks said that if you pulled the thread up (i.e., by the spool) then you could potentially get some lint lodged in the tension discs.

 
But the one universal point I did find is at the very least, be sure your presser foot is up so that the tension discs are released. (Besides...who wants a tense sewing machine?!)

Thursday, October 24, 2013

It Pays to Plan Ahead

When I designed the back of Abby's quilt, I sketched it out briefly on a little piece of paper paper (not a napkin, as I've also been known to do). After all, I wanted the math to be correct because I had a finite amount of fabric to use and to be quite honest, I didn't want to screw it up. 

Imagine my surprise when instead of the nice little square that I had drawn, the sides didn't looked too long. Ah ha! I didn't draw to scale. If only I had used the graph paper that I have stashed in various places around the house!

Well hopefully, I could take that as a 'lesson learned' as we say where I work. This time when I wanted to work on some paper piecing, not only did I sketch it all out to scale, but I even got out my colored pencils and colored in the blocks. (Makes me think I may want to get EQ, but I'm not sure yet.)


As you can see, there is a different design appearing when I use two rows rather than three. It really paid off that I learned that lesson, I thought. 

Next step was to draw out the block and stitch one out as a sample.


Looks great! Oh, hold on a sec...if I sew this into a project, my beautiful points will be in the seam allowance. Ugh!

Enter stage right, my friend Angela from Blue Tree Studio. She showed me how by just extending a few of the sewing lines, my seams will be a-okay.


I have learned that I am trainable and am able to improve the quality of my work by taking time out to think things through. Yeah!

Sunday, October 20, 2013

Keep Those Threads Together

If you're like me, you like to use the same thread in your bobbin as you're using on the quilt top. Sometimes it can be difficult to be sure you have the right shade in the bobbin.

Here's a tip from Moda that was shared on Pat Sloan's October 14 podcast: slide a pipe cleaner (or chenille as they are sometimes called) through the spool of thread and the bobbin. Give it a twist and Voila! organized and easy to find on one quick motion.


Hope you like this idea. Any tip that makes it easier to complete a project is a tip worth sharing!

Wednesday, October 16, 2013

Abby's Quilt is DONE!

 Abby's quilt was done in time to ship for her birthday. However, since she lives in Canada, it probably was sitting in Customs that day. 

Anyway, I just wanted to share the photos I took by myself before I shipped it. (I mention that I took them by myself because I had to drape them over furniture in my living room.)  Thanks so much to my friend Catie who quilted it!


FYI: my boy Asher is the model. Toys provided by Daisy!


The photo is above is the back. It looks a bit warped because of it being draped over my furniture.


The photo above is a close up of Catie's quilting and the label I put on the back. It was a very fun project and I'm really happy it's with Abby in Vancouver  now!

Sunday, October 13, 2013

Fabric Samples

Okay, so let's say you bought some fabric for a project, but knew you'd need more (theoretically, of course). What do you do?  This week's tip is a simple one, but I'm not sure everyone does it so here goes...take snippets (a technical term that means a piece larger than a smidgeon but not as big as a scrap) (hope that helped clarify) and tape them on an index card or piece of paper.


Easy enough to stash in your handbag and take out whenever you get to a fabric store.
Hope you like this idea. Any tip that makes it easier to complete a project is a tip worth sharing!

Wednesday, October 9, 2013

I have a new toy...a needle punch!

After much deliberation, I splurged and bought the Bernina Needle Punch accessory.


In the box came the needle attachment (there are 5 needles that punch up and down simultaneously), a serious finger guard (thank goodness), and screw to attach it all to my machine. Then I also had to purchase the special throat plate (round hole will allow all 5 needles to penetrate the fabric).

I watched the Bernina DVD that came with the package and felt prepared to give it a try. After all, I was told on the DVD that your first project is sure to be a success.

I dropped the feed dogs, removed my bobbin, bobbin case and the hook (you know what that is; the piece that holds the bobbin case in place). (You just didn't know it had a real name, did you?) Also, the bobbin case door stays open the entire time.

Natural fibers work best, so here's what I tried...

1.  mohair (left over from my "sure, I can knit" days) 2. wool yarn 3. sari fabric 4. wool roving 5. spun linen. One other thing the DVD lady told me is that it's great if you can separate the plies of the yarns. That's why in #2 it looks like there are three snippets of yarn.

Here's the result Front and Back:
 
Front
Back


The design goes through to the back because the barbed needles pull the threads through. As a matter of fact, Bernina recommends you needle punch on the front, turn it over and felt again and then do it again on the front. I used white felt for my background and when I tried that technique, I found that when I punched on the back, some of the white felt threads went through to the front, which wasn't what I wanted so on the sample below, I just felted on the front.


I like my new toy and my mind is whirring with possible projects...wool scarf, pillow, table runner? hmmm...we'll see what's next.