Sunday, November 24, 2013

Handy Thread Spool Know How

Does this happen to you...you are done with a spool of thread, quickly wrap the end of the spool and by the time you put it away, it's begun to unwind.  Then you have all of those long threads dangling down. It looks messy and it's easily tangled.

Did you know that a lot of threads come with ends that can be used to hold those loose ends? Madeira and the fabulous Libby Lehman's Bottomline are two examples.

 With the Madeira, the end lifts up with room to insert the thread:


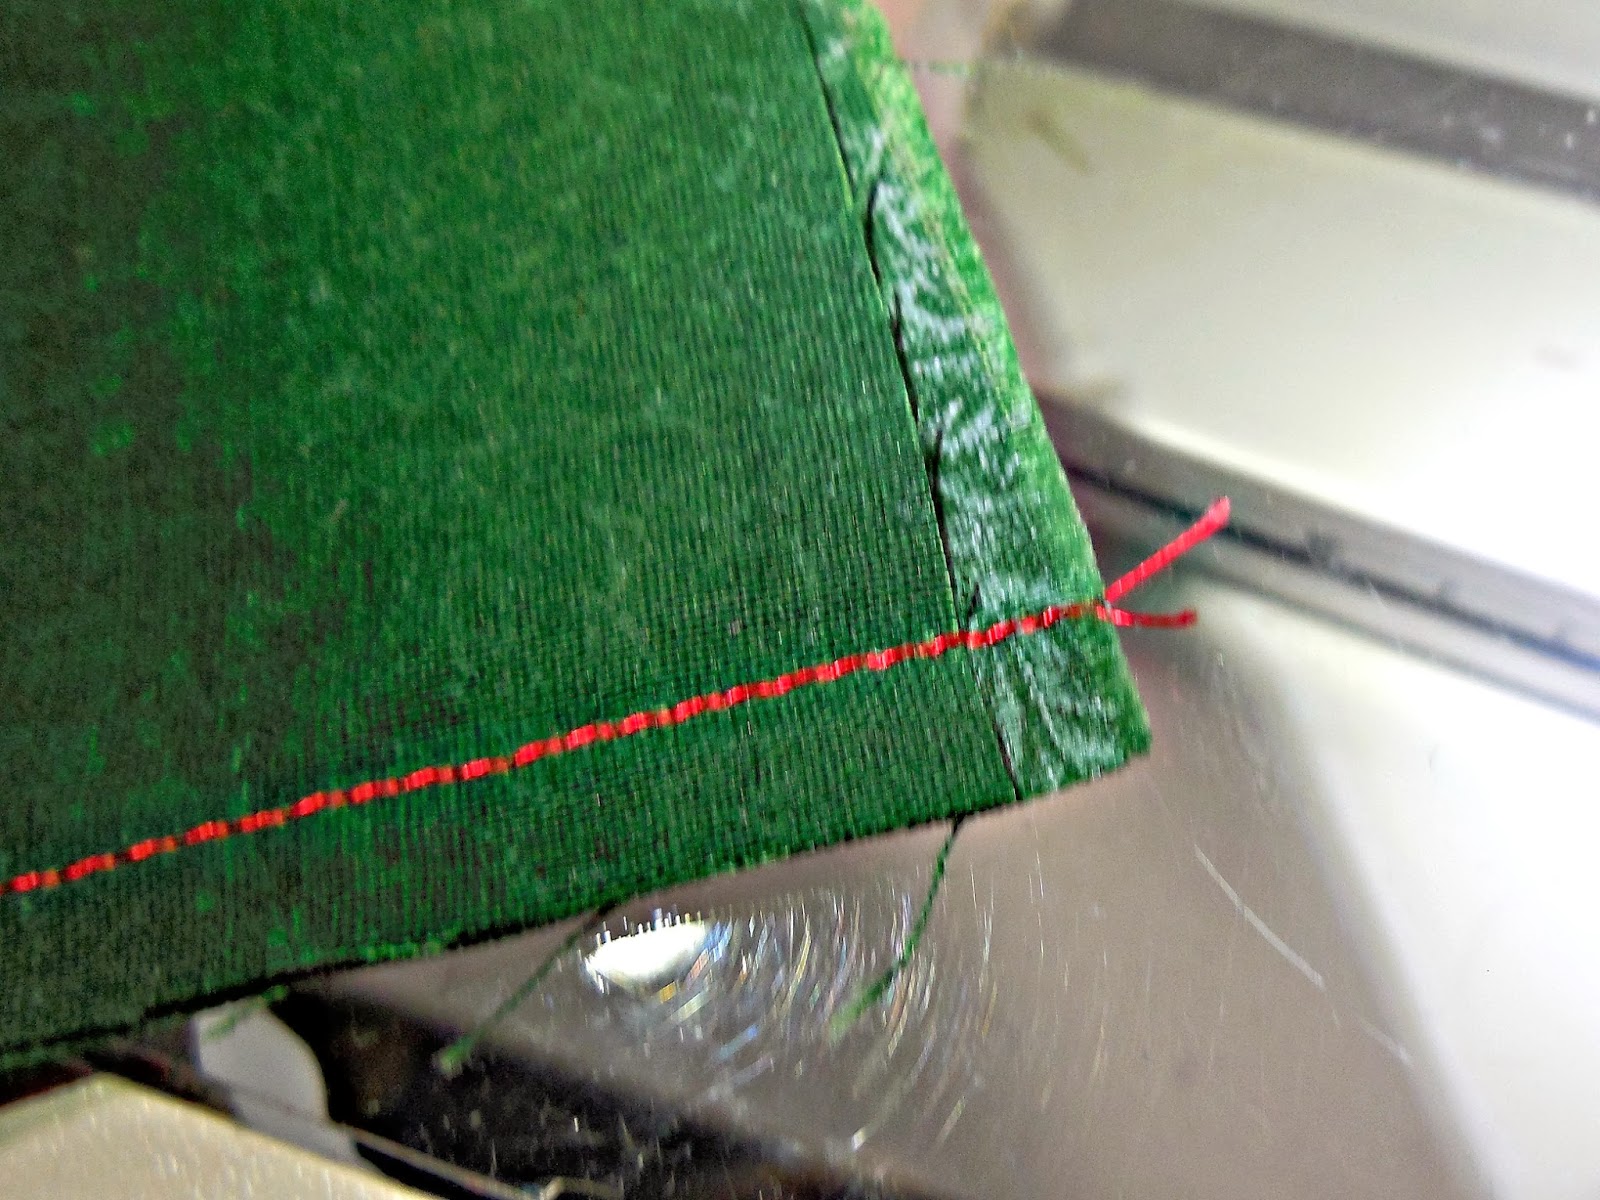
In the case of the Bottomline, one of the ends will actually come off:


Neat and tidy with no loose ends. Now when you throw those spools into your bag to take to class, there won't be a thread nest to deal with. Woo hoo!

Thursday, November 21, 2013

Sweet Pincushion

At Thursday night's meeting of the Magpie Quilters, Karen came prepared to share a cool technique for making a pincushion. And it can all be done by hand.

Supplies: fabric - something heavier that quilting cotton is best, thread, needle and stuffing. The stuffing that Karen brought was an incredible bag of lavender. 

Cut the fabric into a rectangle that when folded in half provides a square. In this example, the size was 6 1/2" x 3 1/2". Stitch up the sides:


Piece of cake; right? Now stuff it full of filling. I used fiberfill because I don't have a bag of lavender handy. For a nice pin cushion, you want to fill it pretty tightly.

Fold it so that the seams meet - that's the trick to the fun shape. 

 
And that's all there is to it! A fun and easy project.


Sunday, November 17, 2013

My Friend the Walking Foot

In my quest to improve the precision of my sewing, the walking foot has become a BFF. Some manufacturers make the walking foot the standard. Very wise. 

Bernina does not. I wouldn't trade my Bernina for anything, so don't get me wrong, I'm not complaining. I have a 440 QE and I'm happy to say that it comes with a walking foot. 

There is a problem I was having that the foot fixes; here is a visual (it makes me cringe to look at it): 


I would cut carefully. I would pin. I would sew slowly and still get the problem you see above. That is a good 1/4+"...enough to make a huge difference when you want your pieces to fit.

Then I tried my walking foot. Eureka! It helped:


It has to do with the speed that the feeddogs move the fabric along. The walking foot ensures that the top fabric moves at the same speed. Now I get a nice even seam. if you haven't broken out your walking foot, give it a try and I'll bet you never look back!

Thursday, November 14, 2013

Tis the Season for...Ruffles

Ruffles can be a fun addition to a project. Sure, initially when you hear the word you think of a cute addition to a girl's dress.  But they can be used in other ways as well; you can add a ruffle to a pillow, embellish a tote bag, or a Christmas wreath.

There's an easy and a hard way to make ruffles. Of course the absolute easiest way is to buy a ruffler for your sewing machine, but let's skip that option shall we? Instead, let's look at a couple different ways to make the ruffles "by hand". (I'm cheating a bit by using a machine but not a ruffler attachment.)(So it's not a big cheat...more like a little white cheat.)

First you'll want to measure the area that you're adding the ruffle to and multiply it by two. This will give you a fairly full ruffle, but feel free to up that number to 2 1/2 or more if you want. 

Now you have the length of the fabric strip that will be the ruffle, but what about the height? That totally depends on your project. In this case, I want the ruffle to be 1 1/2" high.

Option 1: If I want a stiffer ruffle that will look finished on the front and the back, I'm going to fold the fabric in  half. In this case I double the 1 1/2" height and add 1/2" for the seam. That means I should cut the strip 3 1/2" wide.


Option 2:  A single strip with a rolled hem at the top. I'll take the 1 1/" and add 1/4" for the seam and another 1/4" for a little  rolled hem. In this case, I'll cut my strip 2" wide.  Press the fabric at the top down 1/8" and then another 1/8" and stitch .


Have you ever tried to gather a long strip into a ruffle only to have the thread break? UGH! Very Discouraging. Here are two good tips: 1. Sew the thread for gathering with a very large stitch 2. Sew in short sections within the seam allowance; this way the gathering stitches won't show when you sew the project together 3. You also want those stitches to overlap so there isn't an section of fabric that is flat and won't gather properly. 4. Leave about a 3" tail on both ends of the stitching since you'll use these to pull the gathers. (Okay, so I said 2 tips and ended up with 4...I was in the ballpark.) The fabric will automatically  start to curl like this:


Take hold of those tails and even out the gathers. I usually pin the two ends to the fabric and then in the middle. That way I can try to even out the ruffles:


Final result is a nice even ruffle! Wouldn't this look great at the bottom of a hand towel? Easy Christmas present, I think!


Sunday, November 10, 2013

Mug Rug Fun

The Columbus Modern Quilt Guild had a Sew In last weekend. A day of sewing with friends; what could be more fun?  Everyone who attended got a goody bag of fabric and materials to make a mug rug. What is a mug rug you may be asking. Well, it's bigger than a coaster and smaller than a placemat! Kathy G. over at Kwilty Pleasures has a great tutorial on the 'quilt as you go' mug rug. So for today's tip I'm sending you over to Kwilty Pleasures to give it a try. You can whip one up in no time...honest!

Thursday, November 7, 2013

Book Report: thr3fold

I bought this awesome book when I was in Vancouver this summer. It's called thr3fold the journal of creative vision by Laura Kemshall, Linda Kemshall, and Catherine Nicholls. You can check out their blog, thr3foldjournal.


They are three friends who all come from artistic backgrounds. This is their third book and is really about challenging each other to try new techniques. It comes with a CD that provides additional photos and detail that isn't in the book. Each chapter addresses a different challenge and the women discuss their thought process through words as well as beautiful color photographs. 

One challenge was to use Broderie Perse which is a traditional technique where the quilter fussy cuts motifs from fabric to insert in their project. Linda's project had a fish motif, Laura's included poppies, and Catherine's was more abstract.

The photo below is from a chapter that sounded like a lot of fun. They wrote down the names of different embroidery stitches and threw them in a hat. Each woman then pulled out one of the slips of paper to find out what stitch would be the focus of her next pieceThis is a great way to learn a new technique and share what you learned with your friends.


This is a very inspiring book (as the title advertised!) and helped me think outside of the box. Why not try something different for a change. Trying new things is key to creativity. I challenge you to give it a try and see where it takes you!
 

Sunday, November 3, 2013

Book Binding

This is a great tip from my friend Kathy F....how many times do you want to sew and follow a process in a book, but it won't stay open so you find something heavy to sit on it. In this case, I was working with Patsy Thompson's Feather Adventures! book which (trust me on this) I need to follow closely.


I kept the book open in this photo with a great pair of shears my father-in-law gave me in a leather sheath. (Gorgeous, aren't they?). But turning the pages is hard and I'm struggling enough with the feathers; I don't want to fight with the book too!

Here's the tip...for less than $5, you can go to Kinko's (and maybe other printers too) and have the book rebound with a comb binding. They cut off the binding that's on the book, and then they have  a machine that will put the holes in the book so that the comb can be added. Voila! Much easier to work with.


I think this would be a good idea for some cookbooks as well. Hope you like this idea. Any tip that makes it easier to complete a project is a tip worth sharing!